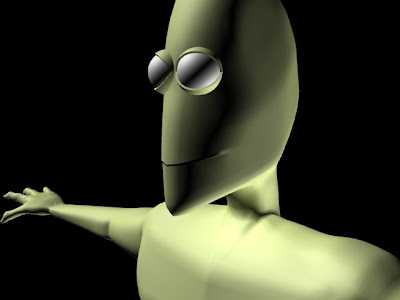
I wasn't happy with the way the mouth looked at this point, I wanted more of a curve where lips would be at this point the mouth looked too primitive:
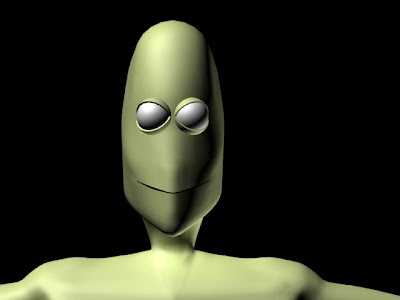
I selected the top row of vertices on the upper and lower lip of the character and folded them in slightly and then curved the vertices that followed to make a basic lip shape:
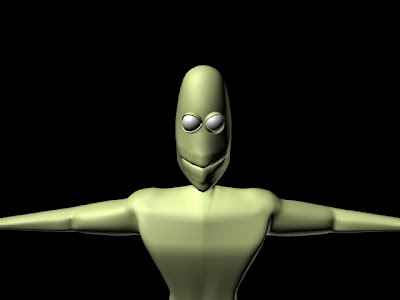
From this I then experimented with altering the mouth shape, to see how the character would look in the end, I did this just by grabbing vertices and moving them to where i wanted them:
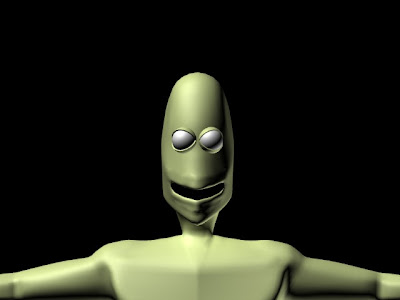
With a different perspective:
NOTE:This point of the build was done around the same time as when I was making the eyes, so some of these images show pupils and some don't, Like with the previous post one of the images had the mouth completed.
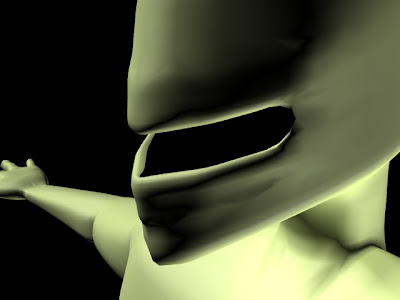
Once I could see what I had to work with I started to experiment with different facial features, this wasn't to go in the morpher, simply just for the renders to show my thought process and to also see how the model looks when the mesh is under particular stresses.
NOTE:These renders are testers and were not used for the final model, I had to re do these facial features for the morpher, this will be explained in the MORPHER post.
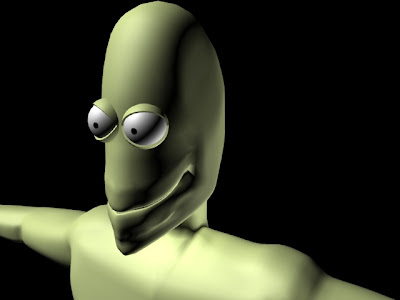
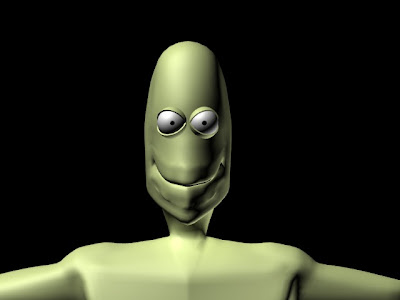
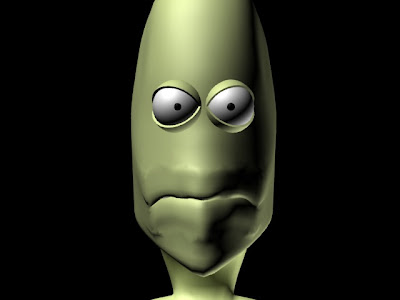
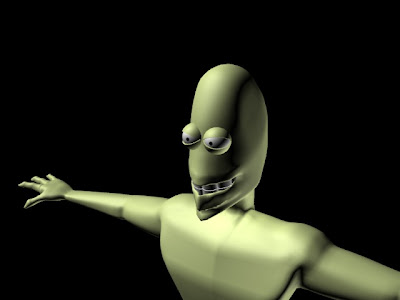
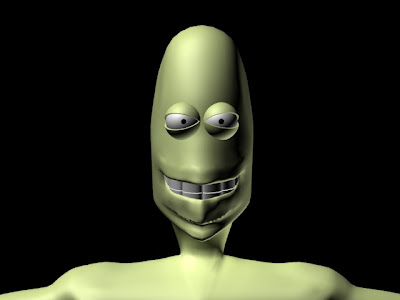
After a quite a while studying my model, I decided it would be wrong to not put teeth into the model. I built the teeth from a cylinder, I squashed in the cylinder then copied the model to however many i desired then rotated and scaled and adjusted the teeth set until it fitted into his mouth, I then copied the group to make two sets, upper and lower.
Heres the test renders with teeth, I did make a note and look into why the there was some sort of shadowy noise around his jaw line, I wasn't manipulating the mesh correctly, which has now been pretty much resolved.
Here's the images:

No comments:
Post a Comment