1.
The actual eyeball
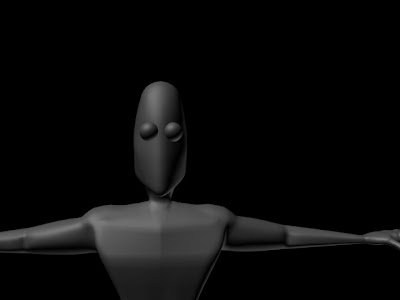
The actual eyeball of the characters was quite simply a sphere resized to the size I wanted and copied over to the other side (make sure symmetry modifier is on, may make things a little bit easier!!)
2.
Eyelids
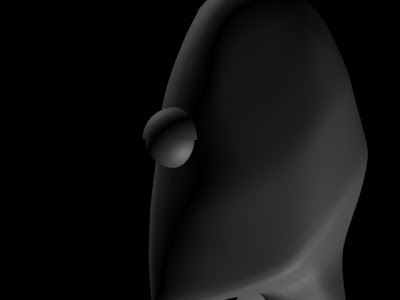
To make the eyelids, I copied one of the eyeballs, without moving it from it's copied position I scaled a fraction larger than the size of the sphere it was cloned from (eyeball).
Using the hemisphere tool, I retyped into the attributes 0.5, this gives you half a sphere, for all areas of the eyes I did not convert any to editable poly seen as it isn't necessary.
I then copied these "semi-spheres" and using the rotate tool, rotated the copied eyelid 180 degrees, as shown with the images below:
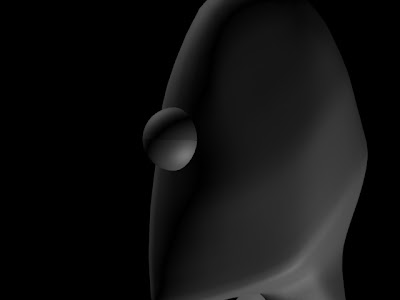
Images showing eyeball with both eyelids, originally all of this was done with one eye then all copied to the other side of the face, to ensure the eye proportions were the same
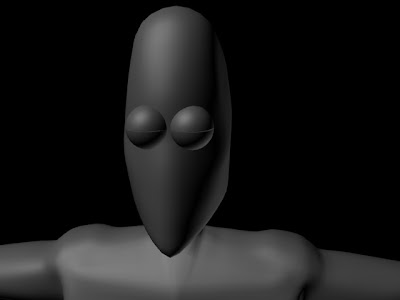
By looking at how the eyelids open and close to reveal the eye underneath, I wasn't happy with them opening as normal (with eyelids facing forward so to speak). Because of the shape of the characters head, I selected the eyelids and rotated them outward slightly to get the satisfactory look and also because he's "humanoid" it doesn't look strange only adds to the alien like look, more images below:
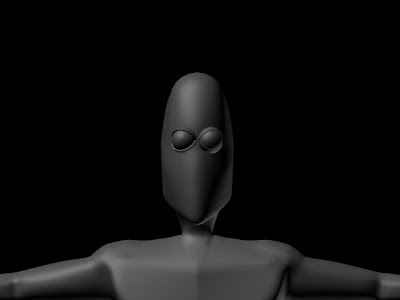
In order to rotate the eyelids, I quite simply used the rotate tool, but make sure in the drop down menu on taskbar you set it to LOCAL and not VIEW to ensure the eyelid properly rotates as desired.
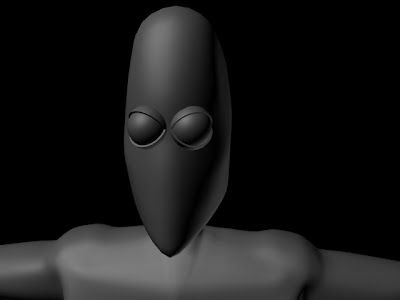
Looking at the model I realised he didn't have pupils!! I quite simply, cloned the eyeball again and resized the pupil and copied it and placed it into the other eye and added colour to the main eyeball and pupil. This image shows his mouth, this will be covered in the next post. I then selected and linked the pupils to the eyeball, so when the eyeball rotates the pupil goes with the eyeball.
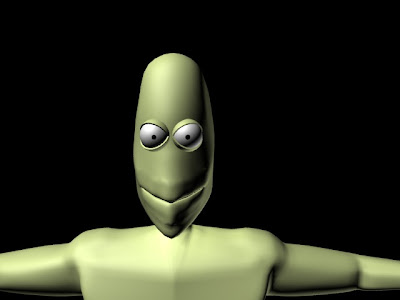
Animation
This animation was just a quick test to see how long in the timeline I should give myself for blinking and to also see what would be the best method of moving the eyes realistically and economically.
For the eyeballs animation I used the look at constraint. The "look-at" was another clone of the eyeball, I positioned it slightly outward to make sure he wouldn't go crosseyed to start with!!
When I first linked the eyeball to the lookat constraint he went immediately cross eyed!!
I found that because I previously rotated the eye as well as the eyelids the look at constraint snapped the eyeball back to it's original position. This was quite a simple problem to overcome, I quite simply removed the lookatconstraint, then broke the links between the pupils and eyeballs and then added in the lookat constraint again, to let the eyeball snap into place and then I re - selected and linked the pupils now the eyes are corrected and rotate fine.
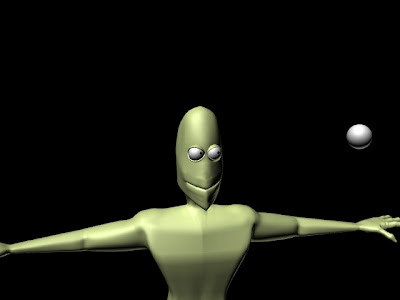
NOTE: From using this method I had a re - think and thought that perhaps it would be more of a wise idea to clone both eyeballs together and make the left eyeball look at the left constraint and the right eyeball look at the right constraint, this would also help with making more dynamic eye movement!
i will have to render out an animation to show this experiment.
For the eyelids, I used the method that I mentioned earlier, using the local rotation. I found the best amount of time to animate a blink at 30fps is a span of 4 frames from original position e.g. frame 1 = fully open frame 3 = fully closed and frame 5= back to fully open. I was happy with the timing of the blink animations and if you can't be bothered to re animate them over and over again, you can quite simply copy and paste the particular keyframe desired to where you want it on the timeline considering the eyelid isnt't a dynamic object, it's only going to open and close at differing degrees and speeds (but remember, there are four eyelids to animate!!).
The following is the animation, I apologise for the quality, I did render this out in 800 x 600 but I may have to try a higher render output in future!

No comments:
Post a Comment