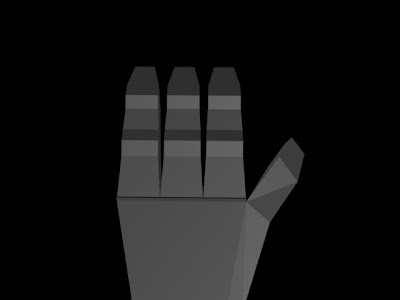
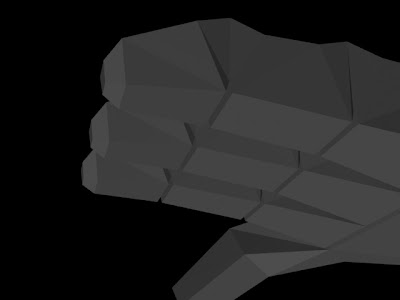
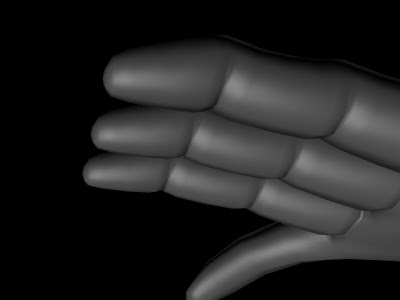
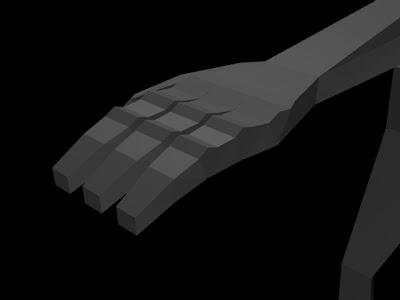
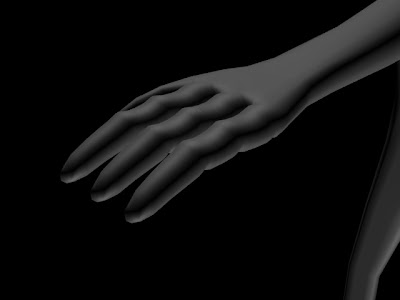
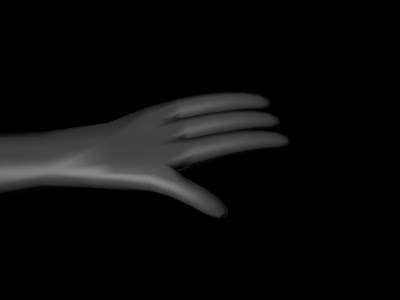
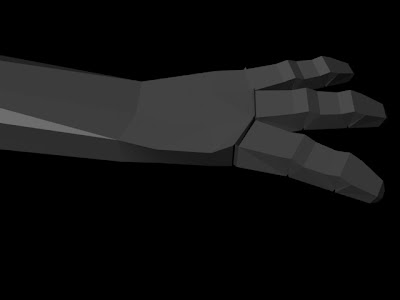
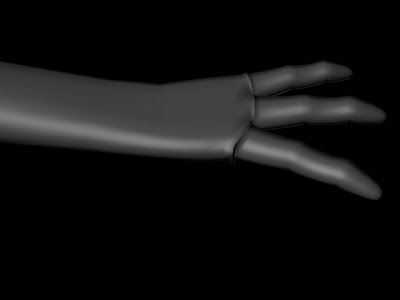
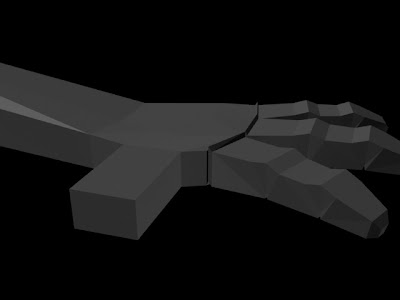
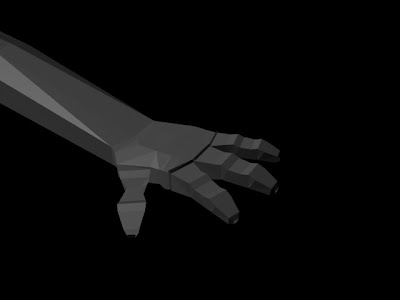
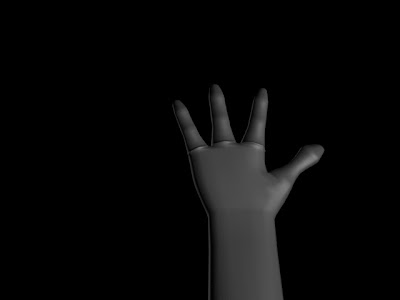
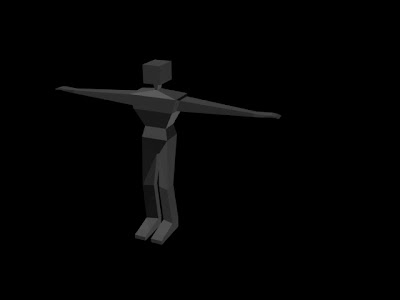
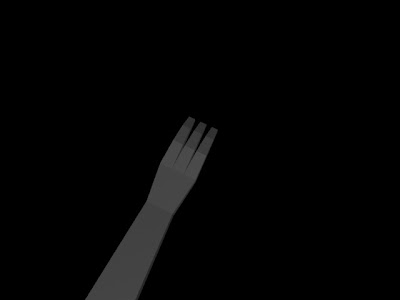
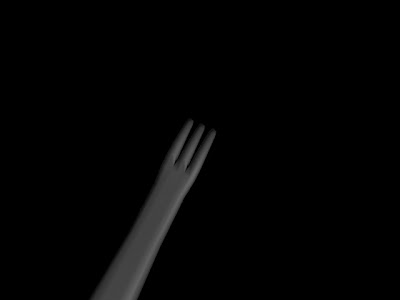
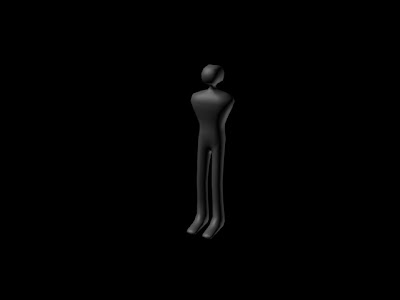
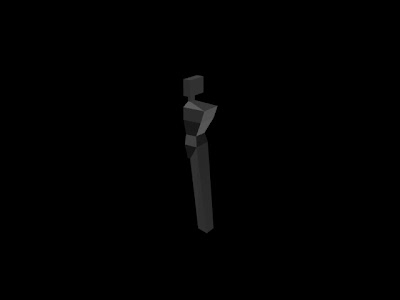
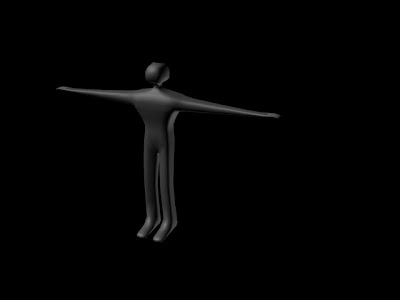
This is the current stage of the full arm, I havent started on tweaking and adjusting the shoulders yet, that should be the next stage of things, more vertex juggling!!
Thursday, 25 March 2010
Modelling: Elbow
I want to give my characer an elbow so that when it comes to skinning the character (hopefully) it should be easier to make the asrm deform the way I wish to, also making the crease in between the forearm and the upper arm will hopefully help.
To make the elbow I just gradually added in more edges and pulled out the vertices according to how I wanted the elbow shape to be, I found from this that I also needed to add more edges to the rest of the arm to maintain a decent shape for the arm.
The image beneath is without smoothing:
This is the smoothed image, but not how the final look of the elbow is:
Modelling: Hand touch up 3
From looking at my own thumb, I noticed that the thumb isnt naturally positioned in the way it was originally on my character so I re tweaked by selecting all polygons required and simply rotating the thumb and re-positioning it. Even I dont think this is fully positioned properly, but ill come back to it otherwise ill spend forever on the hand!!
Friday, 12 March 2010
Modelling: Hand touch up 2
Still looking at the model, I have noticed that the thumb is still out of proportion in comparison to the hand, so I will go back to working on the thumb once I feel happy with the rest of the hand.
Looking at the following renders below, I noticed that there was some deforming going on from the wrist on the palm side and back of the hand, so I needed to adjust and sort out the size of the wrist and improve the grooving of the palm of the hand.
I found also that the palm of the back of the hand was completely flat which wasn't natural looking (strange to say for an unnatural model) so I tweaked the vertices to create a bit of curving on the hand and sorted out the wrist on the back of the hand which removed the deformation of the hand and forearm.
For the palm side was a similar story and I made the grooving of the palm deeper and tweaked the vertices to adjust the geometry of the palm and scaled in the wrist. I think I also added in more edges to the wrist so I could have better control on shaping it. The end result (up to now) I was satisfied with:
Although from seeing these renders, I have noticed that the back of the hand still needs work, but I am feeling a bit happier at the fact that the deformation around the thumb area on the top view looks sound.
The thumb is still an issue to work on, but I will come back to this and in a way, it's kind of growing on me the way it looks as a slightly different looking thumb for a hand!
Also looking at around the index finger area i can see that I need to work on the area around where it curves down to the palm but in good time i will improve on these aspects.
I will now focus my attention on working my way up the arm, to the elbow, gradually to the head and then down the body to ensure i get a smooth and tidy looking model!
I will add "revisited" posts for when i have remodelled or tweaked any areas to improve them to show my progress with the model.
Looking at the following renders below, I noticed that there was some deforming going on from the wrist on the palm side and back of the hand, so I needed to adjust and sort out the size of the wrist and improve the grooving of the palm of the hand.
I found also that the palm of the back of the hand was completely flat which wasn't natural looking (strange to say for an unnatural model) so I tweaked the vertices to create a bit of curving on the hand and sorted out the wrist on the back of the hand which removed the deformation of the hand and forearm.
For the palm side was a similar story and I made the grooving of the palm deeper and tweaked the vertices to adjust the geometry of the palm and scaled in the wrist. I think I also added in more edges to the wrist so I could have better control on shaping it. The end result (up to now) I was satisfied with:
Although from seeing these renders, I have noticed that the back of the hand still needs work, but I am feeling a bit happier at the fact that the deformation around the thumb area on the top view looks sound.
The thumb is still an issue to work on, but I will come back to this and in a way, it's kind of growing on me the way it looks as a slightly different looking thumb for a hand!
Also looking at around the index finger area i can see that I need to work on the area around where it curves down to the palm but in good time i will improve on these aspects.
I will now focus my attention on working my way up the arm, to the elbow, gradually to the head and then down the body to ensure i get a smooth and tidy looking model!
I will add "revisited" posts for when i have remodelled or tweaked any areas to improve them to show my progress with the model.
Modelling: touching up of the hand and thumb creation
Because I'm making a simple character shape I really want to add emphasis and detail to the important areas of the character, important areas I think will be the hands and facial area so i will spend much more time giving these areas a lot more detail.
For this section with the hands I found the Creature hand tutorial to be brilliant to take what i needed from this tutorial to give my hands a lot more detail and I learned some great approaches to looking at how to go about modelling detailed objects for my future projects.
As I don't really see the point in explaining and typing out how I followed the tutorial!! I will just show screen shots of stages of adding detail to the hand.
Like what I did with my basic set up for my model, the tutorial uses similar methods of modelling.
Throughout this point of modelling i had to tweak and adjust the hands a lot using vertex mode, so I dragged across the vertices at the finger tips and knuckles to vary the size of my fingers until I was satisfied you can see the difference in finger size between the above images and the images below:
I then found from looking at these renders and through the view ports that the thumb looked out of proportion and a bit feeble in comparison:
I spent a lot of time trying to reposition, rescale and juggle around with the vertices until in the end I decided to just remove the thumb and try remodelling it once I have done a bit more on the fingers:
Once I was getting happy with tweaking the fingers I then went round 2 with the thumb and did it better this time!!:
Thursday, 11 March 2010
Modelling 4: Hands
Firstly to create the hands, I extruded out from the wrist to create my characters palm/back of the hand.
I then selected a couple of the edges from the palm upwards and hit the ring button, this selected all the edges up the arm and all along the body laterally (if thats the right word to use!!)
I then pressed the connect dialogue box, chose to have 2 segments in the dialogue options (I made sure the slider was positioned at zero to make sure the new edges will be correctly aligned)hit ok and this created two additional edges that runs all along the entire side of the body.
But, the main reason I did this was to make an area on the palm to extrude three fingers from as shown in the images below:
To make these fingers I just selected the 3 newly made polygon faces and extruded them completely out, i then went into edge mode and dragged over the fingers and if I remember rightly selected the connect dialogue box, I then chose to have 2 segments again to create the finger tip and finger knuckle area.
Using the move tool, I went into the front viewport and lifted the newly made edges upwards to make the knuckle and finger tip slightly raised, I then went into vertex and edge mode and adjusted the fingers according to how I wanted them shaped using the tools required (move, scale and rotate).
Modelling 3: Arms
For the main arm shape I pretty much keep to using the same principles, except, rather than using the extrude tool straight from the shoulder area, I used the bevel tool. I did this because I found it easier to make a reasonably visible division between the shoulder and arm (fingers crossed it will be ok for the rigging stage without a lot of tweaking!!)
Modelling 2: Legs and feet
After sorting out the leg to extrude out the foot I then did the following for the foot here:
1) Extruded downwards to create the ankle/area for the foot to be extruded.
2) Selected the new polygon and extruded outwards to create the foot.
I found after stage 2 that the foot looked a little bit off so I went into vertex mode and adjusted the vertices to where I wanted them using the move tool.
3) For the leg area, I went into edge mode, selected the leg area (dragged across), I then went into the connect dialogue box and used the slider to position the knee area according to where I wanted it also, using the move tool i pulled the newly made edges across to give a slight bend in the leg, which will make it easier for me in the rigging stage for positioning the joints where i want them.
Modelling 1: basic structure
For the character modelling, I thought of a few ways of how to go about it, but in the end I chose a method I used in the past to model a basic biped.
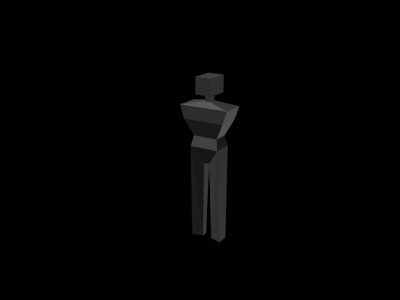
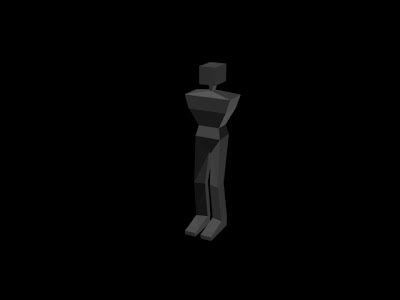
1)I created a box, made the size 40x40x40, this inital box is the head, I added a editable poly modifier to this box.
2) Using the extrude tool and the scaling tool I created the neck and shoulder blades then extruded downwards and still using the scaling tool, to create the chest, torso, hips and groin area, after doing this I went into edge mode connected a new edge right down the middle of the model and deleted half of the model to make it easier to make the character.
3)The leg was made in exactly the same way, except I only extruded it out a small way, then having the polygon still selected I used the move tool to size the leg accordingly.
4) I went into edge mode and rotated the edges of what will be the ankle so that the polygon face is now parallel to where the floor will be, I did this to make my life easier for making the feet.
5)I then resized the leg using the scale tool and using edge mode and polygon mode accordingly.
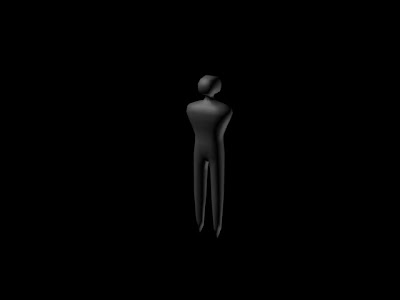
6) I added a symmetry modifier and turbosmooth to the model, just to see at this stage how it looked.
Tuesday, 2 March 2010
Lipsync Tutorial, Fatboy
This is the tutorial for lipsyncing using the fatboy model.
I used the "Jollytosh old chap" dialogue for this one and I was quite happy with the outcome i managed to get from it. The annoying thing I have found is, is that although before going through the process of the full facial morphing, I did work on covering up his teeth by pulling out the face a bit here and there, but yet on the final render his teeth are still popping out!!!
Also another thing which i have noticed for myself personally, is that the movement in the lips doesnt quite fit the OL point when saying jOLly, but apart from that I'm reasonably happy with it considering this my first go at lipsyncing, there's only one way to go from now and that's up!
Oh well, you learn from your errors and so here he is, I think to have a practice, I may create my own dialogue and stick that up at some point to see how that looks once my own character is finished as a sort of animation test.
Storyboard??
I still haven't fully completed the storyboard from rough to final form, as I keep tweaking and refining points in the story, but the final one should be up here before the end of the week. But while I am working on finishing the storyboard, I will start to work on my model from this point on as this will be the most time consuming and complicated aspect of the module. If I screw up the model, whether it's in the modelling stage, rigging stage or skinning stage the animation is going to suffer, so I will work on the model and alongside the storyboard i will start to write a small script for the characters to follow.
Front and side of the character
These drawings will be what I use as a guideline for modelling my model, I won't follow the drawing exactly as knowing myself Iam SURE I will end up changing things as I go along! But nonetheless they will be valuable templates to have.
With the leg on the side drawing, I have deliberately made it kink towards the knee a little bit, as this will help with the skinning process once the modelling is complete, I may not have it as kinked as it looks here, but slightly bent I definitely will model it that way for ease with placing the knee joint where I wish for it to go.
Facial sketches
These are just showing me experimenting with different facial features using particular mouth shapes which would be used to make up words phonetically (I think that's the right word to explain this situation!), very rough and very basic. Im not a very good drawing artist, so I use this process of drawing as more of a way to visualise the character in my head of how they can be modelled. From doing these facial sketches I decided upon not using visible eyebrows but just to manipulate the mesh around where the eyebrow would be to show expression as I felt having eyebrows on these characters wouldn't look right, I also decided that I will set up some teeth and have a fully animating mouth section, perhaps rather than just syncing the mouth to audible sounds, I may spend some time in writing a small script with actual dialect which will be a fun challenge!
First Sketches
With the following image shows my first rough ideas with the characters appearances I wish to have for my animation. I will have three characters in total, but all with this similar style of body just differing sizes and heights, which can be quite easy to do once I have built the first character.
This first image is faint but shows the original sketches, the bigger guy is the guy who is going to be fooled by the smaller guy, the other guy who is going to get fooled will also be a short guy, but perhaps with slightly differing features to help distinguish the characters.
Subscribe to:
Posts (Atom)